Thursday, October 21, 2010

Labor of Love

I nanny for the CUTEST little boy EVER! I have been watching him since he was born, and for his 1st birthday, I could not think of anything that could possibly show him how much I adored him. So, I decided to make a scrap book for him and his parents so that one day he can look back and remember that someone loved him enough to create this labor of love! For any of you out there who have ever made a scrap book, you know how much work really goes into it. For those of you who have never created one, I suggest you make one for a loved one, or even for yourself. They bring smiles to peoples faces!

Here are a few of my favorite pages. This is Benjamin and his family...


Frame It


My roommate and I were looking for some decorative frames to put on our living room wall, and I could not find one that I liked. So, I went to the thrift store, of course, and found an empty frame for 25 cents. I brought the frame home, painted it brown, distressed it using a hammer and sand paper, and got to work on the inside. We decided that we wanted to keep up with the 'beachy' theme, so we found some left over burlap from another project, some cute scrap book paper, and a beach photo. We cut the burlap and folded the insides over the back of a manila cardboard frame so that it only covered a framed portion. Next, we taped the scrap book paper to the back of the frame, and taped the photo in the center. This is one of our cheapest and easiest crafts yet. Nothin to it.

I should have gotten a "before photo" so you could see what we started with, but here is a picture of the frame before we added the picture:


You will need:

* Frame
* Burlap (enough to cover the size of the frame)
* Cute scrap book paper (you can find at any craft store for cheap)
* Photograph
* Tape/Glue
* Things to distress the frame with (Nails, sand paper, hammers, etc.)

Wednesday, October 13, 2010

Flower Chandeliers


This is not a thrift store find, but it was still pretty darn cheap! While shopping around at Marshalls one day, I stumbled upon some Martha Stuart Wedding crafts. There was a box of tissue paper that you could turn into hanging flowers, and I though, why not give it a shot?! They looked pretty cute! I think people used them for wedding showers, but I decided to see how they would look in my bedroom.

I got to work and read the directions carefully, wondering how in the world a bunch of tissue paper could look like a flower. You had to first make an accordion style fan with the layers of the tissue paper. Next, you folded them in half and placed a thing piece of wire around the middle and twisted it so that the there was enough wire hanging off of the top. Then I had to pull back the tissue paper piece by poece and "fluffed" the flower so that it looked full.

My directions seem a little broad, so one day I will post pictures of how to make it step by step.

My roommate loved the flower that I had in my bedroom, and instead of us getting a cute light for the living room, we decided to make it super girly and just add some flowers! We love them!!

Star Earing Holder


I found this star frame at the thrift store for $2 and tried to think of something to make of it. Since I have a ton of earrings, and was starting to run out of places to hang them, I decided to make an earing holder! I bought some very small chicken wire for pretty cheap and used my handy staple gun to secure the wire to the back of the star. This was one of the easiest, and most useful crafts that I have made so far. You can make earing holders out of any frame that you want. Also, you can use whatever size chicken wire that you would like. Just depends on your style!

You will need:

* A cute frame
* Paint to touch up the frame if you want
* Chicken Wire (you can find ay Home Depot or any craft store)
* A staple gun

Monday, October 11, 2010

Get yo hands dirty!


Lindsey found this old dirty tractor wheel at "The worlds longest yard sale" for FREE!! We cleaned it up, drilled two holes at the top and hung the lantern from it with old chain. We toggle bolted it to the ceiling to hang. This took us about 10 minutes to do, and cost us nothing since we already had everything we needed. SCORE! haha


A Step Up


So this was one of my absolute favorite "salvages" that I saw at Crate and Barrel one day. I took a picture of it and decided to do it myself. It honestly took me a really long time to find an old salvaged ladder ( antique store for $12) but after looking for a few weeks I FINALLY found one! I bought chain and wire at home depot ($7), old frames from thrift stores ($10) and printed pictures from target ($8). I arranged the pictures the way I wanted them and hung them individually with chain. I attached the chain and frames with S hooks and wire. There was a lot of steps to this piece but now that it's done I'm really happy with it and I get tons of compliments! I hung it up right when you walk in my door so it's a great conversation piece!

Memory Pane


I had a large wall to cover in my apartment and searched for a unique piece of art to fill the wall.....this is what I came up with! This is a HUGE window full of 8x10 pictures in each pane. I taped them on with clear duct tape and ~viola~ a large piece of unique wall art!! I found the window at an antique store for $20 and I think I paid $2-3 per picture at target. This was a little bit of a pricey "salvage" but I just love it and it takes up an entire wall in my dining room!

Friday, October 8, 2010

Coral Me Pink!


Well, this isn't pink except for the bottom of the coral, but I am running out of cute ideas for names. Any suggestions?

This is another piece we made for the wall behind our television in the living room. On a trip to Pottery Barn a while ago, I became obsessed with their beach themed room. I normally think that all white and beige rooms are very boring, but this room was the farthest thing from it. I loved the coral and the drift wood and white candles in glass jars. My roommate and I went on a search for some beachy things to make and stumbled upon a large piece of coral at Home Goods. Random? Yes. I could not figure out how to frame it, but then remembered a picture I saw in a magazine that had empty frames hanging on a wall and I loved the idea. So, we found a 10 cent frame at a thrift store and began to paint and distress it. Next, we had to figure out how to hang the coral, since it is so delicate. (You can already see the huge hole I put in it) The only solution I came up with was sewing it to the frame. I found some neutral thread and sewed the sides to the frame, and surprisingly it worked. I really wish I would not have put a hole in it. : ( It just gives it character I suppose!

Below are some pictures of Pottery Barn's beach themed room. It's all about the inspiration...


The little boy at the bottom is my cute cousin, Kyle, when he was little. He LOVED to eat sand and my aunt caught him red handed in this picture. I want to put this picture somewhere in our living room, but need some ideas on how to make it cute. Any suggestions?

Shining Star


My roommate and I wanted to add some decorations to the wall above our T.V., but could not think of a theme that would look good in our randomly decorated apartment. So...we thought about what we loved most. The beach! I had found a star fish on a trip to the Bahamas a few years ago, and it was just collecting dust at my parents house. So, we decided to frame it. I got a really cheap hot plate at Goodwill and knocked the plate out so that we could use just the frame. We painted the frame brown, distressed it a little bit, and stapled some large chicken wire onto the back of it. The staple gun can be tricky to use, especially if you don't have a hard surface to bear down on. Also, I am sure that this would have looked much better with some smaller chicken wire, but since I could not find any at Home Depot, this will do for now! This project cost me a total of $1.50. Can't beat that!

You will need:

* Star Fish (You could probably find them at a craft store)
* A frame that you love (Any thrift store, or an old one from your house)
* A staple gun (I suggest investing in a good one!)
* Chicken wire (You can find them at home depot. If you find smaller chicken wire somewhere else, let us know!)
* Paint (Get some "oops paint" on sale at Home Depot. They usually mark them down on Thursdays.)
* Sand paper, nails, a hammer. (Anything that can distress the paint a little bit)

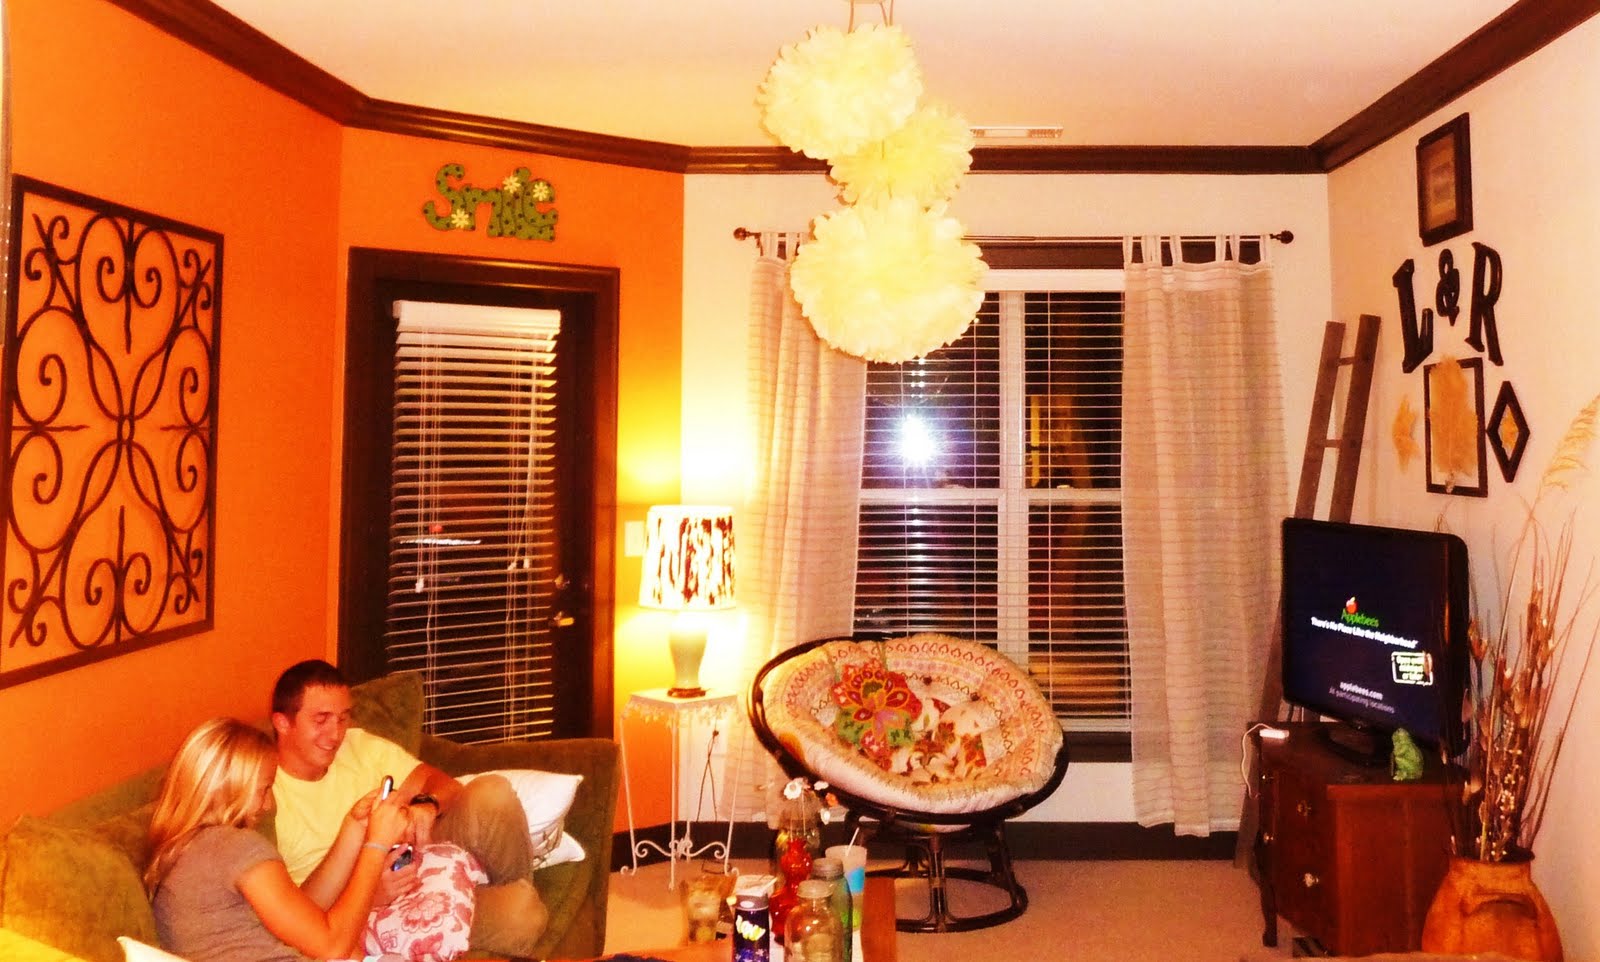
This is a picture of what all we put above our television and a picture of how it looks from farther away. Our wall looks orange in the picture, but it is a light coral. Lighting changes all colors, geez!